Introduction
The display is a pretty simple device, so in general there probably aren’t any new features you need on your display. However, when you update Klipper on your host, problems may occur due to a version mismatch even if the new features are not needed or even used on your display.
Whenever you update Klipper on your host system, you should also update Klipper on all your MCUs. This is because Klipper on your host system and Klipper on your MCUs need to use the same communication protocol.
― Automating Klipper MCU Updates
There are some easy ways to update the firmware.
For boards with an SD card, like the BTT SKR 1.3, there is a script called flash-sdcard.sh for updates.
For boards like the BTT SKR Pico, an RP2040-based board, you can use the make command: make flash FLASH_DEVICE=<insert serial id here>.
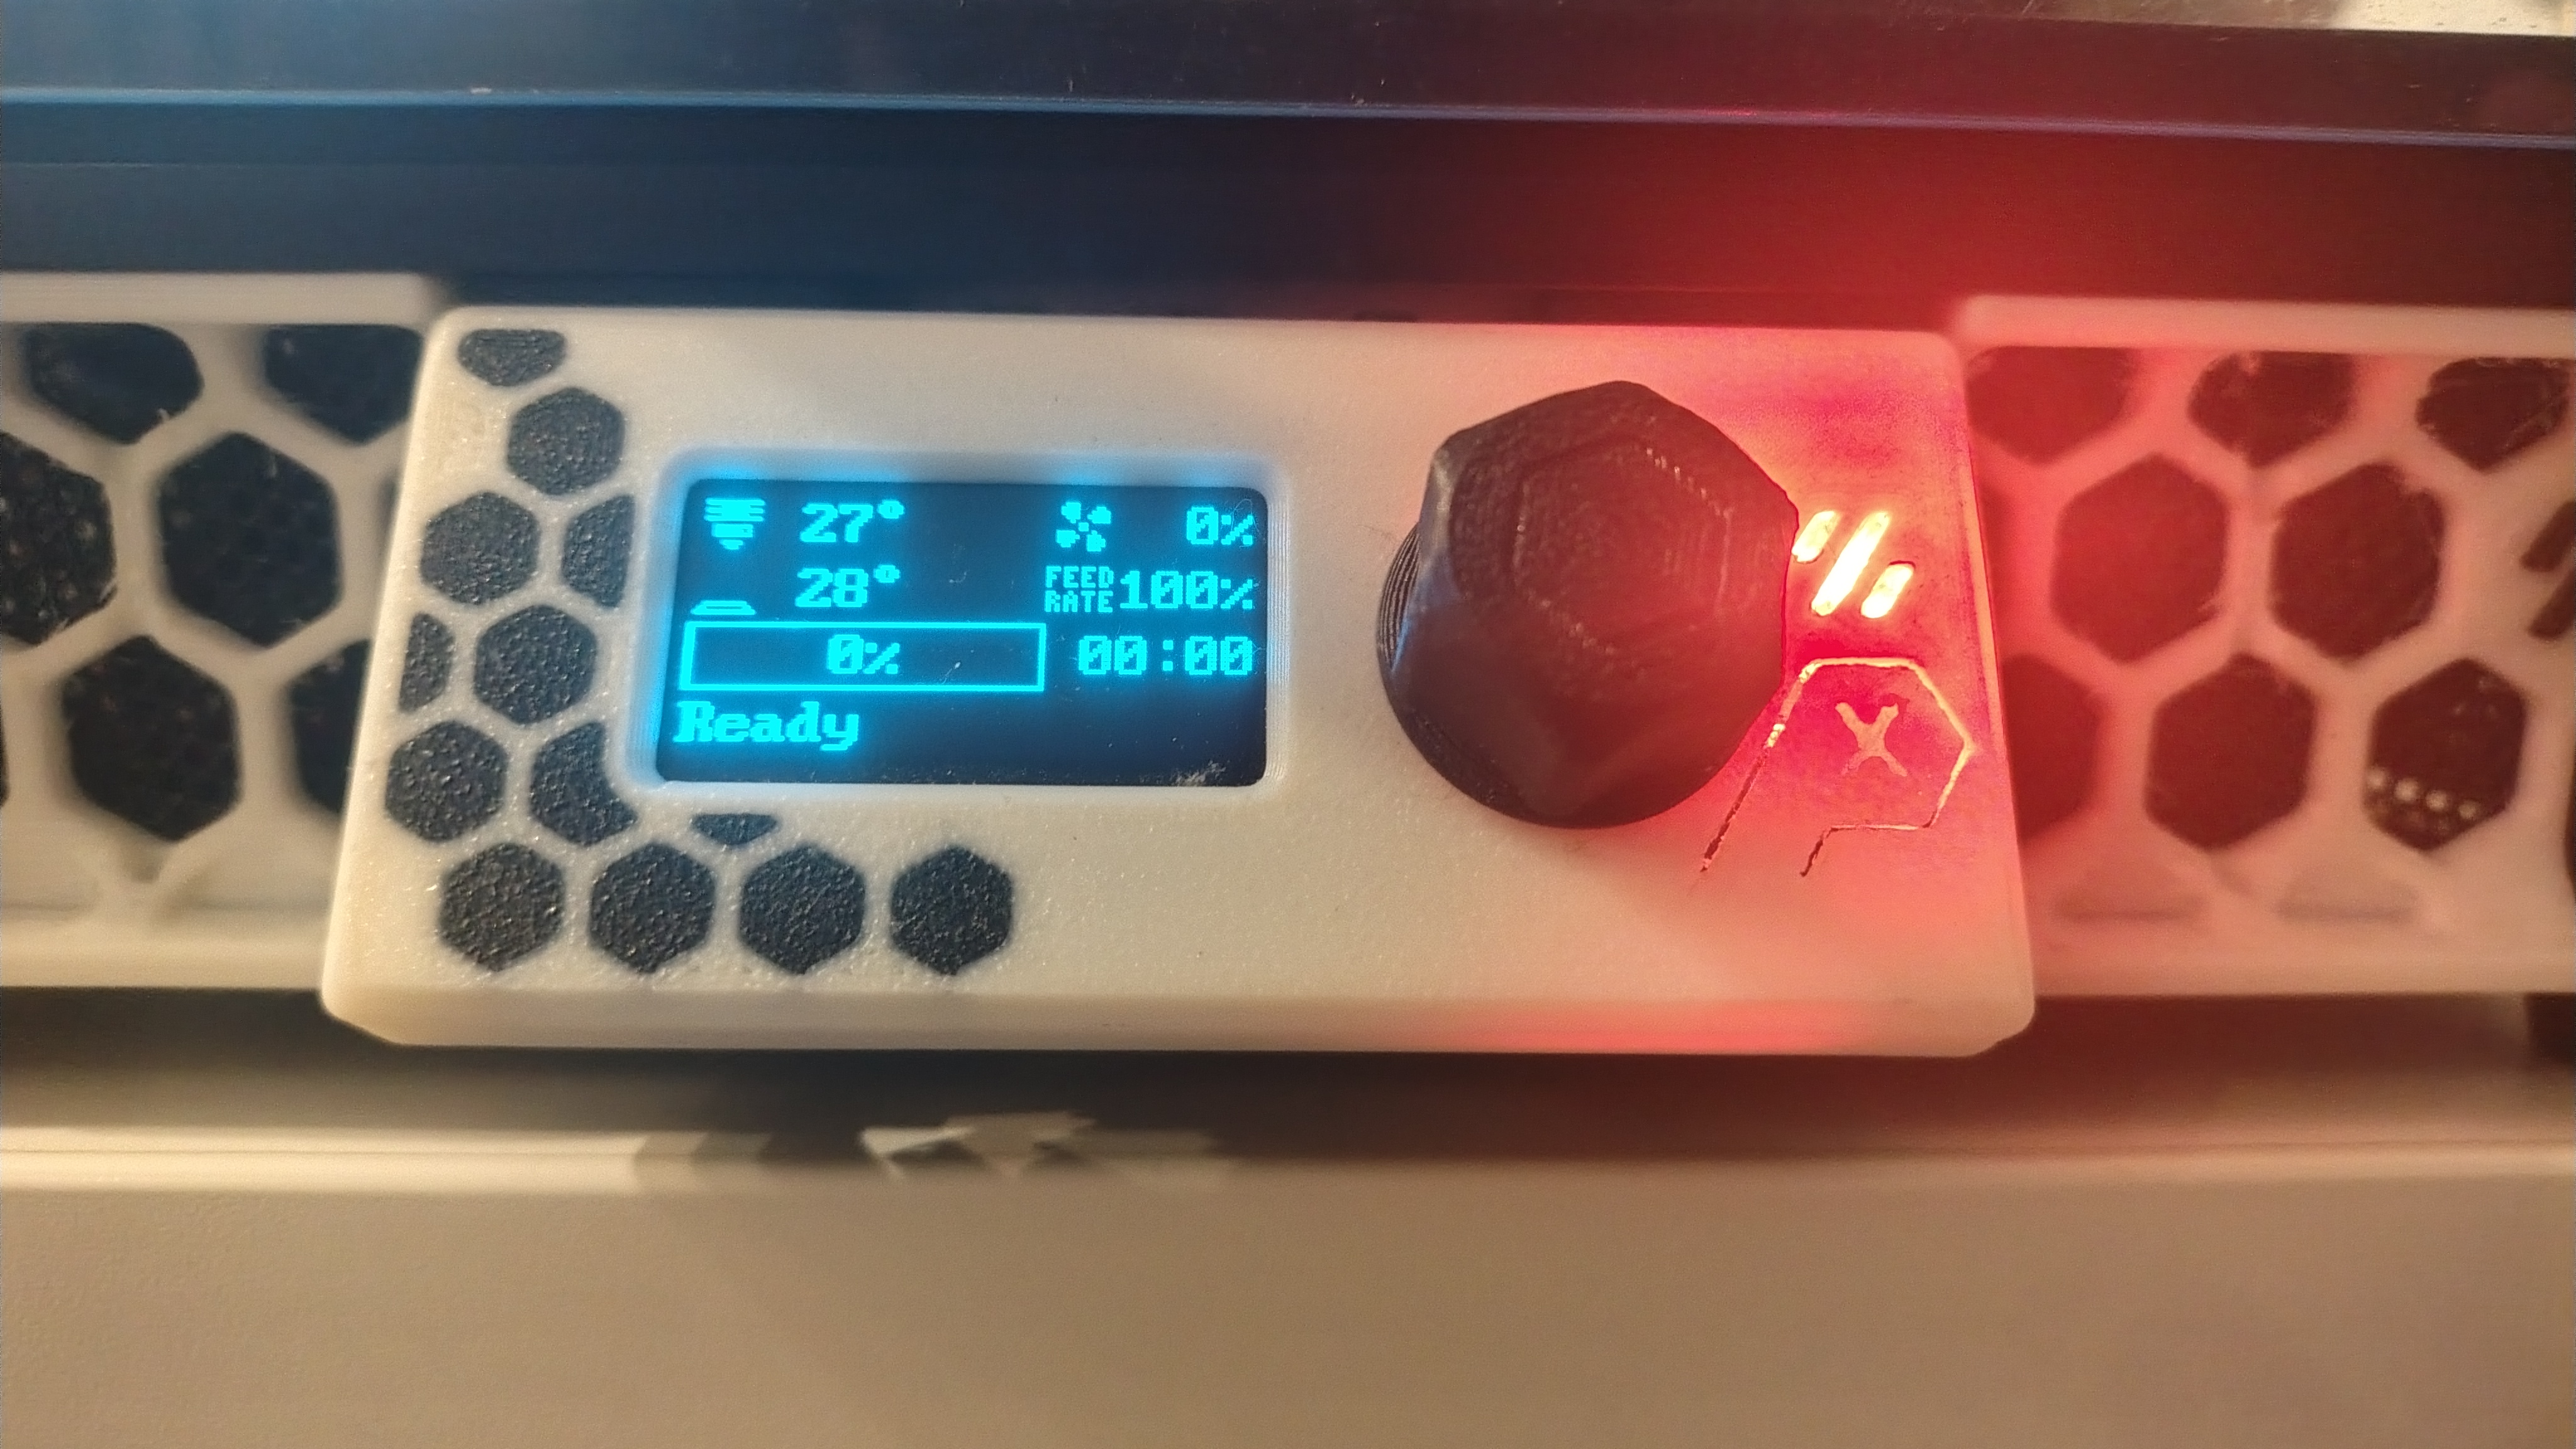
However, for some MCUs, like the one used for the Voron 0 display, these methods are not easily usable.
To use the make flash command you have to use the DFU device ID, so you have to put the MCU in DFU mode first.
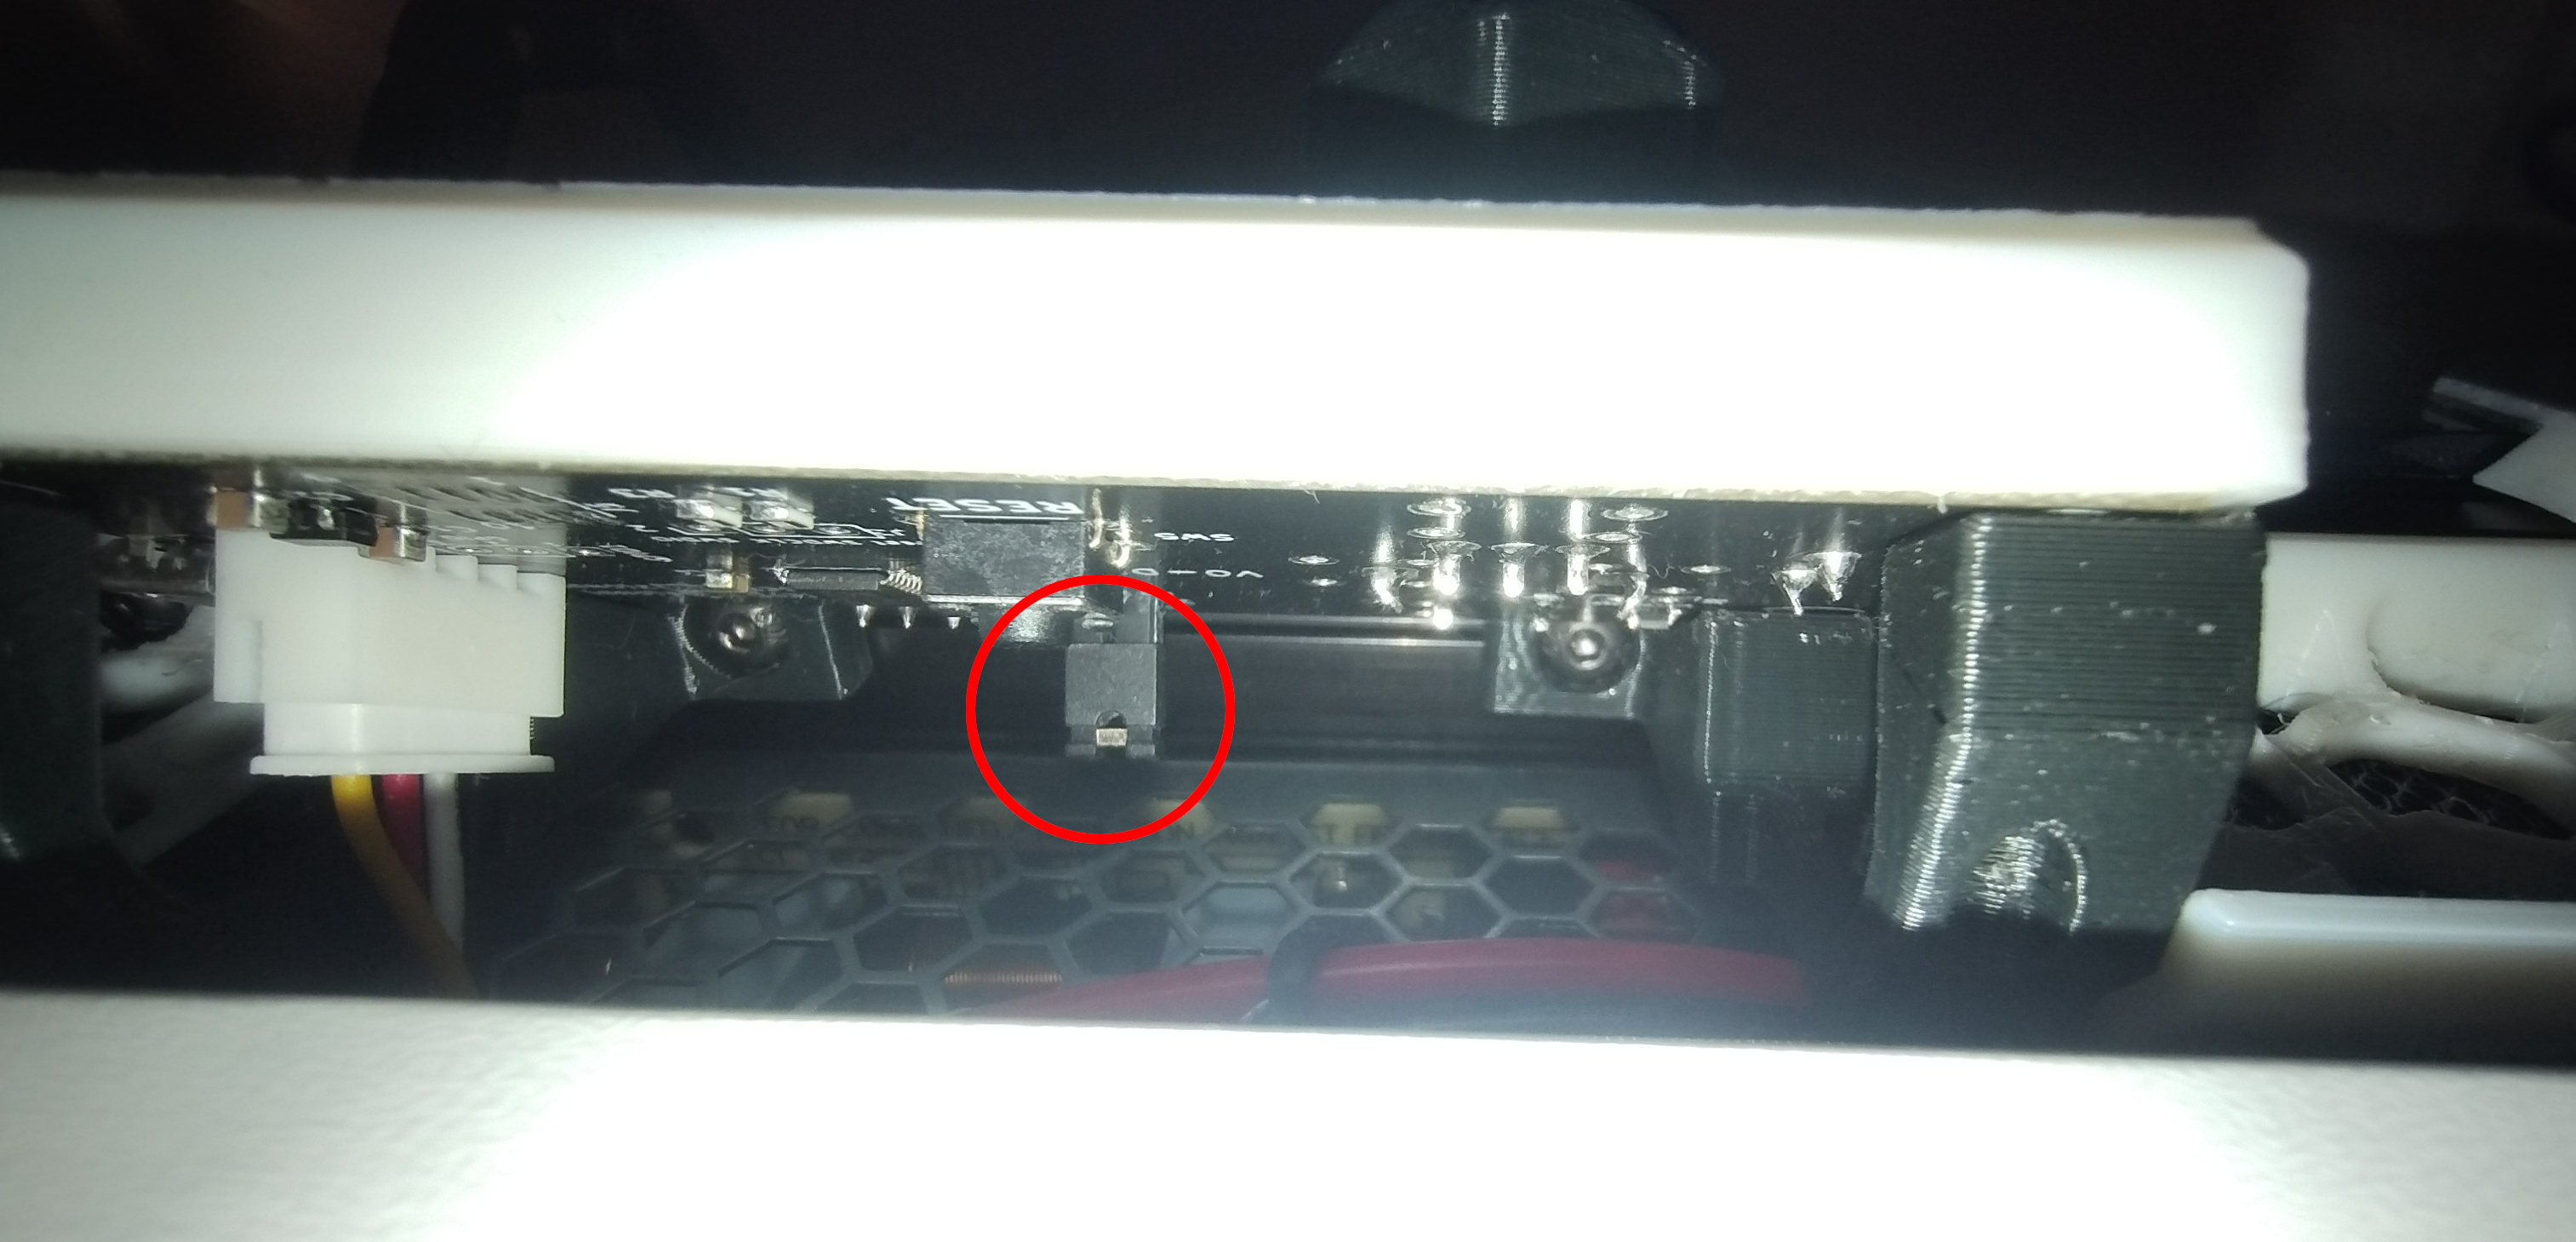
This requires installing the boot jumper, which is hard to reach if the board is already installed in the Voron 0.
Bootloader
Boards like the SKR Pico are easy to update because they have a bootloader preinstalled. For the RP2040, this bootloader is baked into the chip. This is explained in Section 2.6.1 (ROM) and Section 2.8 (Bootrom) of the RP2040 documentation.
The SKR 1.3, like many LPC176x-based boards, has a DFU bootloader installed.
This is why boards like this need a bootloader offset.
Otherwise, the bootloader would be overwritten.
Those boards can then usually use Klipper’s flash-sdcard.sh script.
So we need a bootloader to update the software without entering DFU mode. For this, we use Katapult, previously known as CanBoot. It is mainly used to update boards connected via CAN bus, but it is also useful for boards connected via USB, like the V0 display.
Esoterical Guide
Because I used Katapult for CAN before, I adapted the installation process from the Esoterical CANBus Guide. However, there is an even better resource, called the Esoterical USB Flash Guide. The author even replaces the “stock” bootloader to make updates easier, but in my opinion this is not really necessary. However, if you need to do anything manually on the board, like pressing buttons or setting jumpers, I strongly recommend switching to Katapult. This allows updating without any physical interaction.
This also applies to the Voron 0 display, and the guide even has an article about STM32-based boards. However, this is for a generic STM32-based board, and it needs to be adapted. To adapt it, you would use the Klipper config for your board to set the hardware options. But I already did this, so you can just follow these instructions.
Note: A lot was copied over from the Esoterical Guide.
Install Katapult
Make sure everything is up to date and requirements are met.
| |
Download Katapult:
| |
We can then configure Katapult for the Voron 0 display.
| |
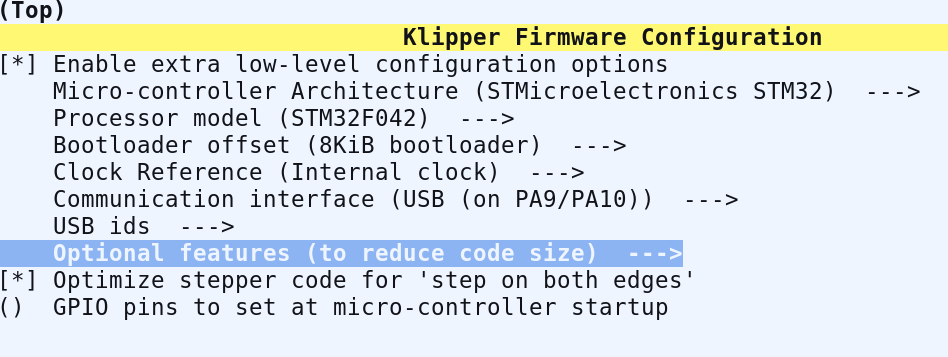
We need to set the Micro-controller Architectures, Processor model, Clock Reference, and Communication interface to the same values as for the Voron 0 display.
Then set Build Katapult deployment application to 8KiB bootloader.
I tried the 4KiB bootloader, but this did not work, so 8KiB it is.
You also have to set the Application start offset to the same value.
Also enable Support bootloader entry on rapid double click of reset button, so reflashing gets easier.
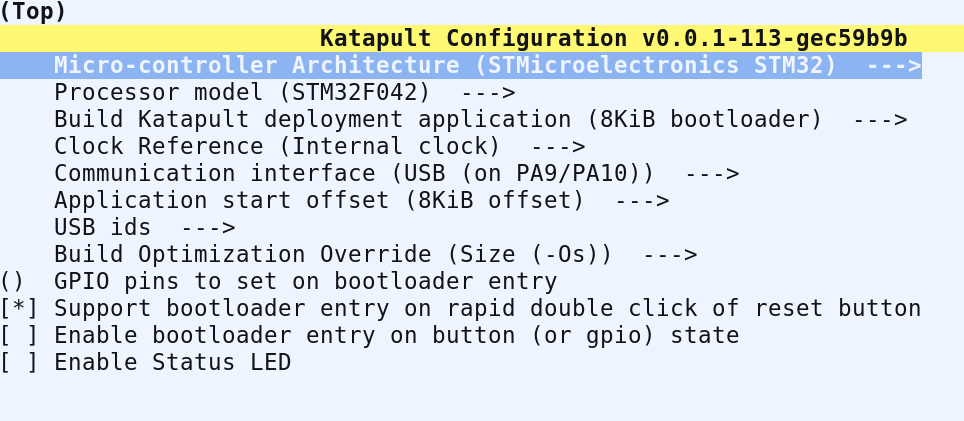
To leave and save the config press Q.
Run make clean to clean up the environment.
Katapult is now prepared, but to flash it we have to put the display into DFU mode first.
To do this, install the boot jumper.
Hopefully your display is not yet installed in the printer.
If not, good luck with getting the jumper installed.
I already lost one this way.
Reset the board and use lsusb to check whether the STM32 is in DFU mode.

We then run dfu-util --list and get the ID in the format [xxxx:yyyy].
In my case this is [0483:df11], so the same as listed via lsusb.
But better to make sure.
NoteKatapult recommends doing a full chip erase. However, I also had success via a simple
make flash FLASH_DEVICE=xxxx:yyyylike the Voron 0 display guide does. But for this guide we go with the recommended way.
NOTE: Prior to flashing Katapult it is recommended to do a full chip erase. Doing so allows Katapult to detect that no application is present and enter the bootloader. This is required to enter the bootloader if you have not configured an alternative method of entry.
― Katapult README
So we now need to run the following commands:
| |
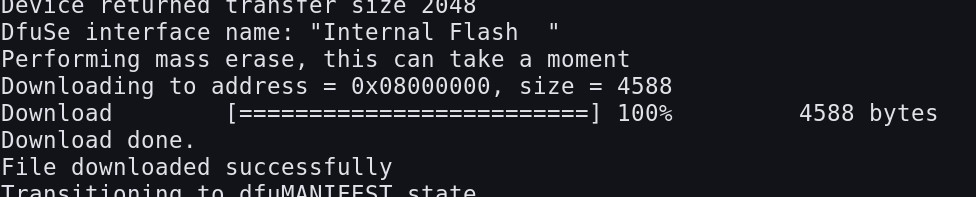
It might show an error like “Error during download get_status”, but if it still lists “File downloaded successfully”, everything is ok.
However, if you get a different error and “File downloaded successfully”, Esoterical USB Flash Guide recommends using sudo dfu-util -R -a 0 -s 0x08000000:leave -D ~/katapult/out/katapult.bin -d 0483:df11 instead.
Katapult should now be flashed successfully and we have to put the STM32 out of DFU mode. So remove the jumper now and restart the board. To check whether Katapult is running, execute the following command:
| |

If Katapult is not visible, double-press the reset button to see whether the MCU enters Katapult.
You need to check via ls /dev/serial/by-id/* again.
Install Klipper via Katapult
This step is pretty similar to any other Klipper installation. We have to stop Klipper, configure it for the targeted hardware and then flash it.
| |
This time the config is identical to the Display Documentation except for the Bootloader offset option.
Here we have to set it to 8KiB bootloader similar to what we configured for Katapult.
Remember to set the “Optional” features too.

To exit and save the config we have to press Q again.
We can now flash the display with the ID we found before.
This can be done via the simple make flash command.
So in my case this would result in a command like this:
| |
WarningThis is only for the initial Klipper install. Note that there is a
katapultin the ID. Afterwards, this is replaced withKlipper. So the command has to be adapted!
Klipper should now be installed.
To check we can use ls /dev/serial/by-id/* again.
In my case /dev/serial/by-id/usb-Klipper_stm32f042x6_16002D000843304146393720-if00 is listed, which shows that Klipper was installed.
This ID can then be used inside your printer config.
Restart Klipper and your display is running again.
| |
Update Klipper
Updating Klipper is now pretty easy. Stop Klipper, check or change the config again, flash the firmware and restart Klipper. You do not have to set the boot jumper or put the MCU into DFU mode. Remember to update the device ID.
| |
Automatic updates and alternative flashing
You can save the config so you can reuse this later. There is also a handy user guide hosted on the Voron Documentation for automatic Klipper updates. So in our case this might look like this:
| |
Note that you have to create config.display first.
You can do this via a simple copy.
There also is an automatic update script, which makes this much easier.
You do not have to write the script yourself, but can use an easy config file.
However, this is only applicable to devices running Katapult, because the script does not support make flash FLASH_DEVICE=....
This script uses Katapult’s scripts/flashtool.py, which is used if you want to update firmware via CAN bus.
However, it can also be used over USB.
So if you don’t want to use make flash FLASH_DEVICE=... like we did before, you can run the following command after running make.
| |
Conclusion
We have looked into why other boards can be easily updated, but not the Voron 0 display.
To fix this, we installed a bootloader called Katapult onto the MCU and then installed Klipper.
Updating Klipper can now be done without setting jumpers and even without any physical interaction.
We have also seen how this can be updated and briefly looked at an alternative to make flash.
Updating your Voron 0 display is now hassle-free.